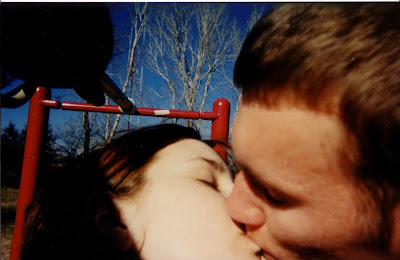
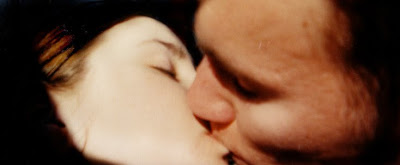
In your photo entry this week, we need to see some kissing. It can be at a wedding, at a celebration, between two kiddos, during an engagement shoot, or even a person and a pet. The possibilities are endless.Come to realize, we don't take a lot of kissing pictures around here. In fact, the best kissing picture we have is one that we took the day I was leaving to move to Virginia. We had only been together 3 weeks before I moved to VA, and the day I drove to OKC to say goodbye, we realized we didn't really have any pictures together. So we used one of those disposable Kodak cameras and took pictures of each other and together so we could "see" each other while I was gone. ...
Just make sure that you have at least one person in your photo and that there is definite kissing going on. :)
Okay, okay, enough lovey-dovey, let's get down to Photoshop basics.
Here's the original picture from way back whenever I first scanned it in (and for those of you Edmond history buffs, yes that is the old playground that use to be behind the Memorial Road Church of Christ building):

The first step was to crop it down- the down side to taking a picture of yourself while having your eyes closed to kiss someone is that aiming the camera is a wee bit difficult. After cropping the picture, I used the burn tool to darken the background. The first time I tried it I tried to erase the background while having the undercolor of the file be black and then I tried painting it black, but both ended up with hard lines around our heads, and the burn tool made it look more natural:

The last step before the filter was to go back to the burn tool and with a small brush darken selected areas from the large brush highlighting:


0 comments:
Post a Comment